With the ability to explain and advertise a product or service at the first customer touchpoint, explainer videos are a powerful online marketing strategy. Ripple Animation understands the demand for high-quality animated explainer videos that highlight your brand’s most prominent features and separate them from the competition.
In this second entry to our “What Makes a Great Explainer Video” series, we explore one of the most crucial elements of the animated video production process: the storyboard. Creating a storyboard is often the most fun part of the animation process and typically involves the most client communication.
The storyboard is created after the script and art styles have been approved by the client. Using powerpoint, Ripple Animation is able to create a simple and straightforward storyboard presentation that can help clients better visualize the product we are delivering.
Let’s walk through the step-by-step process of creating a storyboard using Powerpoint and talk about some important considerations for creating an awesome storyboard that the team will love.
Benefits of the Storyboard Process
Storyboards can help your internal team and clients visualize what the end product will be like. By gifting clients a work-in-progress they can see visually, you can improve cross-team collaboration on ideas that could better suit the client’s end vision and clear up any miscommunication.
For your internal team, storyboards are a valuable tool to help keep your story organized. Storyboards can also be a valuable tool to divide up tasks and create schedules around deliverables.
Finally, storyboards help cut down on mistakes that could be difficult to resolve once the process of animating has begun. By soliciting client feedback early in the process, your team could save valuable time having to modify the video later in the process after countless hours have been spent on producing it.
To recap, the top benefits of a storyboard include:
- Improves client communication
- Helps organize processes
- Cuts down on costly mistakes after animating has begun
Elements of a Good Storyboard
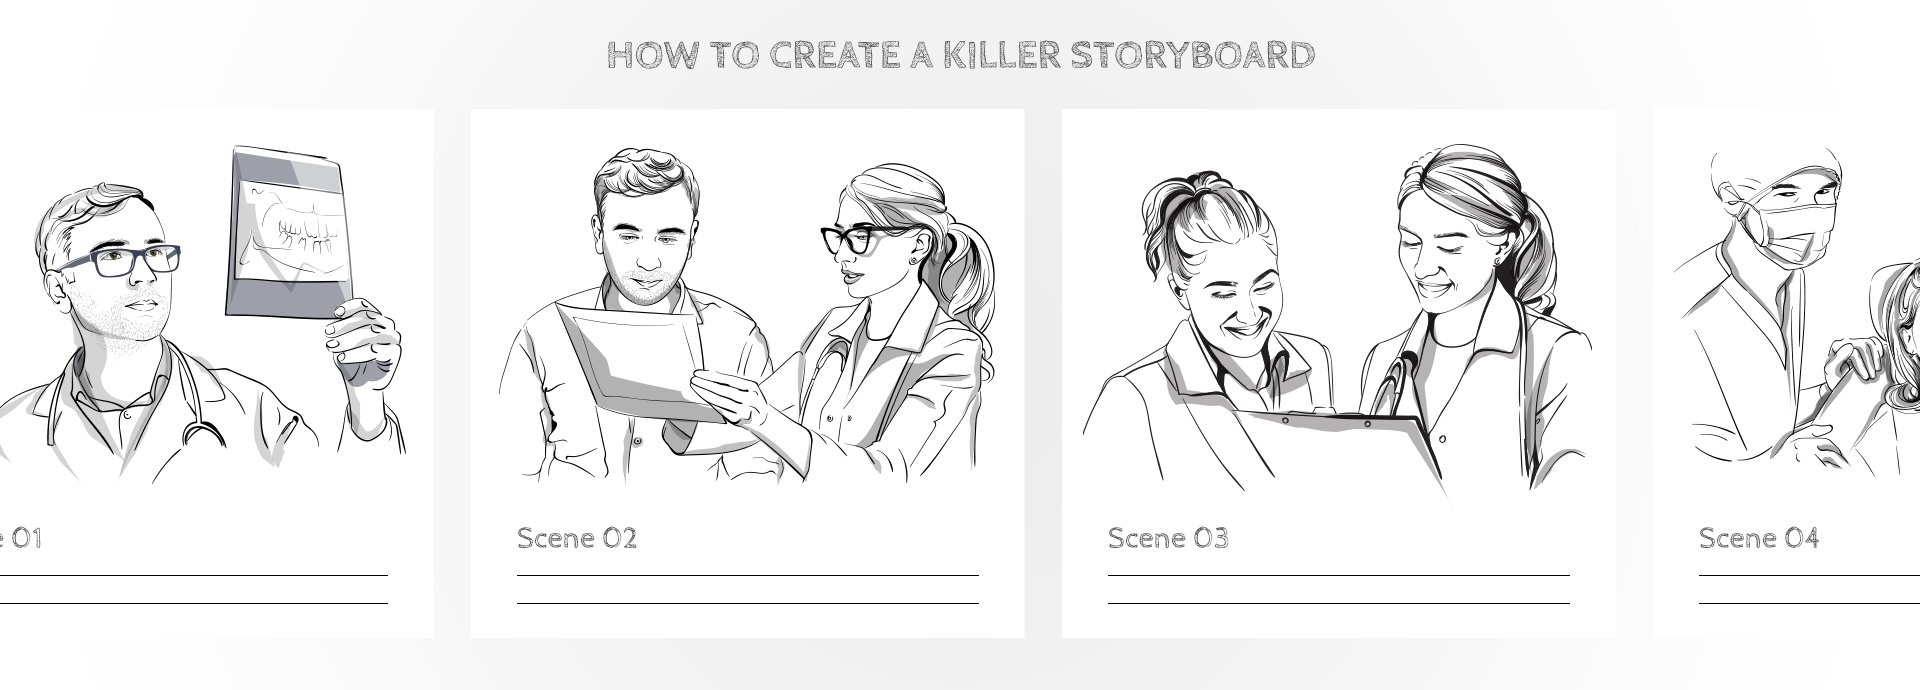
To craft a compelling finished product, it all starts with the storyboard. At Ripple Animation, our storyboards are completed using a Powerpoint presentation. This means each slide or frame will represent a scene within the story and the text box below will represent the script.
Contained in each frame is a static image meant to represent what is supposed to happen in the scene. Use the description box at the bottom to insert the lines for the voice over so that clients can get a better sense of what is happening in each scene and visualize what it will look like when it’s all put together.

There are some mistakes you can avoid in the storyboard process that can benefit the finished product and make it resonate more with the client. Some suggestions include:
- Letting the animation tell the story
- Replacing onscreen words with voice over
- Keep stories short and succinct
Steps for Creating an Animated Video Storyboard
- Decide on the length of your video and create a slide count to reflect that length.
- Insert characters, props, and backgrounds based on the chosen art style into each slide.
- Add the corresponding script in a text box beneath the slide for context.
- Add the lines of the voice-over on each slide to create a cohesive story.
- Add a description beneath the script to fill in any gaps in the story that are not covered by the narration.
Once the storyboard is approved, Ripple Animation will begin the process of animating and deliver the client a finished video.
Ripple’s team keeps in constatn communication with the client throughout the process, working tirelessly to deliver an animated explainer video that perfectly encapsulates the client’s brand and suits the vision. For more information about whiteboard animation or to work with our team, make sure to contact us today!.
